
Installing wet wall panels over existing tiles is a popular and cost-effective way to revamp your bathroom without the hassle of tile removal. The process creates a waterproof, low-maintenance surface that looks modern and is simple to clean and maintain.
Whether you’re installing shower wall panels, PVC wall panels, or laminate panels, fitting wet wall panels over tiles offers a quick and easy installation, making a straightforward bathroom renovation.
If you're asking: can you put wet wall over tiles? You've come to the right place! This guide explains how to fit bathroom wall panels over tiles step-by-step, assisting you in attaining a professional finish with stylish, durable panels that protect your walls from moisture.
Preparing Existing Tiles for Panel Installation
It's important to prepare the area correctly so that your panels stick well and your installation is fully waterproof.
-
Use a wet cloth to clean up the working area and get rid of oil, dust, and grime.
-
Check for damaged tiles and repair or replace cracked ones to avoid adhesion problems.
-
Address uneven tiling by sanding down bumps gently with a sanding pad or applying foam tape to high spots to create a completely flat surface.
-
Before you start putting up the wall, let it dry.
-
To keep your eyes safe, wear safety goggles when fixing tiles or sanding.
Preparing your area properly lays the foundation for a clean, professional-looking finish and helps keep water from getting behind panels.
Materials Needed for Installation
Gathering the suitable supplies ensures your installation goes smoothly. Make sure you have the following:
-
Adhesive suitable for bathroom wall panels and damp areas
-
Caulking gun for applying adhesive
-
Silicone sealant for joints or edges for a fully waterproof finish
-
Foam tape to level jagged tiles and cushion panels
-
Spirit level to position panels perfectly straight
-
Sanding pad for smoothing any rough spots
-
Tile spacers that can maintain even spaces
-
Pencils and measuring tapes for accurate marks and cuts
-
Utility knife for cutting panels to size
-
Cloth to clean excess adhesive and sealant
-
Goggles for eye protection during prep and cutting
Explore our Tools & Accessories page to find everything you need for a smooth installation.

Step-by-Step Guide to Fitting Wall Panels Over Tiles
Before you start, make sure you have all the tools and materials you need. Measuring carefully and planning your layout will save you time and effort. This step-by-step guide shows you how to do everything, from planning to last touches, showing you exactly how to install shower wall panels over tiles.
Step 1: Take Measurements of Your Layout
Assess your tiled area, noting any fixtures or outlets. Plan panel placement to minimise cuts and place joints in discreet spots. Mark out your reference lines on the wall with a bubble level to guide your installation.
Step 2: Cut Your Panels
Using a craft knife, cut your panels to size, making clear cuts. If your panels feature tongue-and-groove edges, they’ll fit tightly together. For square-edge panels, you might have to purchase additional trims to get a neat, professional-looking join.
Step 3: Even Out the Area
If your tiles are uneven, apply foam tape behind the panels where they protrude. This cushions the panels and creates a flat surface.
Bonus tip: Foam tape not only increases adhesion, but it also decreases stress on joints, increasing longevity and allowing panels to stay level for a longer period.
Step 4: Secure the Panels with Adhesive
Apply the adhesive to each panel in a zigzag pattern using your caulking gun. This guarantees that the tiled surface is well covered. Avoid applying adhesive too close to panel edges to prevent seepage. Use the adhesive recommended by the panel manufacturer for best waterproofing.
Step 5: Install the Shower Panels
Press each panel firmly against the prepared wall from bottom to top. Use a spirit level frequently to keep the panels correctly positioned. If installing multiple panels, fit them snugly together, using tile spacers to create even gaps for sealing.
Step 6: Create a Watertight Seal
Once all panels are in place, seal the joints and panel edges using sealant applied with a caulking gun in a thin line. Smooth out the sealant for a clean finish. This step is very important for creating a completely waterproof barrier behind panels.
Step 7: Tidy Up and Finish Off
Remove any excess adhesive or sealant with a wet cloth before it dries. Install trims around corners for added protection. Let the sealant and adhesive cure properly before exposing panels to water or heavy use, following the manufacturer’s recommendations.
Mastering how to fit shower wall panels over tiles ensures a smooth, efficient upgrade that saves time and hassle.
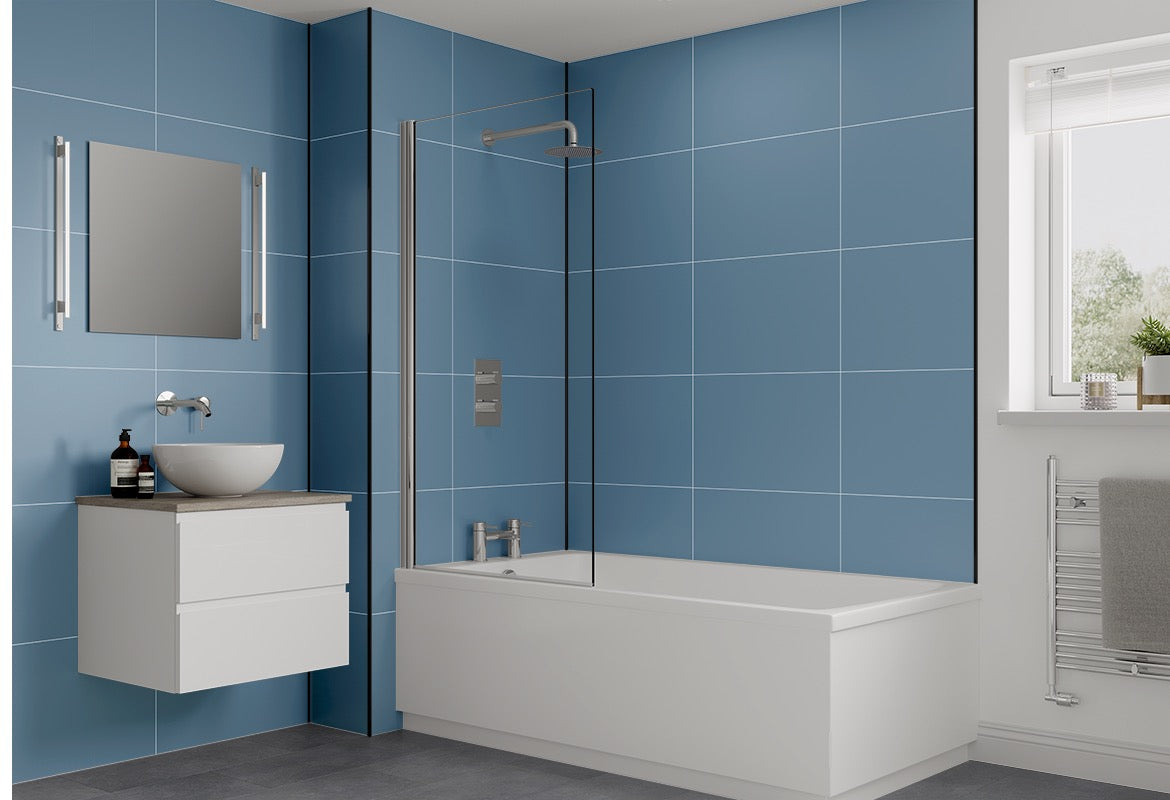
Can You Put Wall Panels Over Tiles?
Wet wall panels can be installed directly over existing bathroom tiles, provided the surface is secure, undamaged, and reasonably flat. This helps in decreasing the time and costly process of removing tiles, providing a quicker remodelling technique for bathroom upgrades.
Our range includes options that let you install PVC panels and Multipanel Wall Panels, which are all designed for easy installation directly over traditional tiles. Installing wall panels to cover tiles creates a seamless, grout-free surface that is easy to clean and fully waterproof, protecting your walls from moisture and mould.
Use a premium panel adhesive made especially for damp areas, and properly prepare your tiled wall for the best results.
If you’re planning a shower upgrade, knowing how to install wet wall over tiles can simplify your bathroom renovation.
Browse our bathroom wall panels collection for products perfectly suited to covering the original tiles.

FAQs About Installing Shower Panels Over Tiles
Understanding the process of installing panels over tiles is key to a successful bathroom renovation. Below are some common questions that tackle fitting concerns.
Can wet wall panels be cut to fit around bathroom fixtures?
Yes, shower wall panels can be easily cut with standard tools to fit around taps, light switches, and other fixtures, allowing for a tailored fit and minimal finishing touches.
Are there specific panels better suited for commercial wet areas?
Premium PVC panels and Multipanel collections are long-lasting and hygienic, which makes them suitable for commercial bathrooms and wet rooms.
What maintenance is required after installation?
Wet wall panels involve little maintenance; simply wipe down with a damp cloth. Their non-porous surfaces prevent mould, unlike grout lines in tiles.
Why Choose Wet Wall Panels?
Wet Wall Panels offers premium, fully waterproof bathroom panels designed for a quick installation and lasting protection. Our collections feature trusted brands like Multipanel and Fibo Wall Panels, combining quality materials with stylish finishes to suit any bathroom design.
Our panels are a stylish alternative to regular bathroom tiles, giving your space a modern look without the grout lines or maintenance concerns.
Our panels are cost-effective, 100% mould-resistant, low-maintenance, and available in matt, gloss, and tile effect finishes. You can choose from a selection of classic or contemporary bathroom styles. Our DIY-friendly panels help you achieve a professional-looking finish without hassle.
Order your wall panel samples today to experience our premium quality firsthand. Need help? Contact us for personalised project advice.